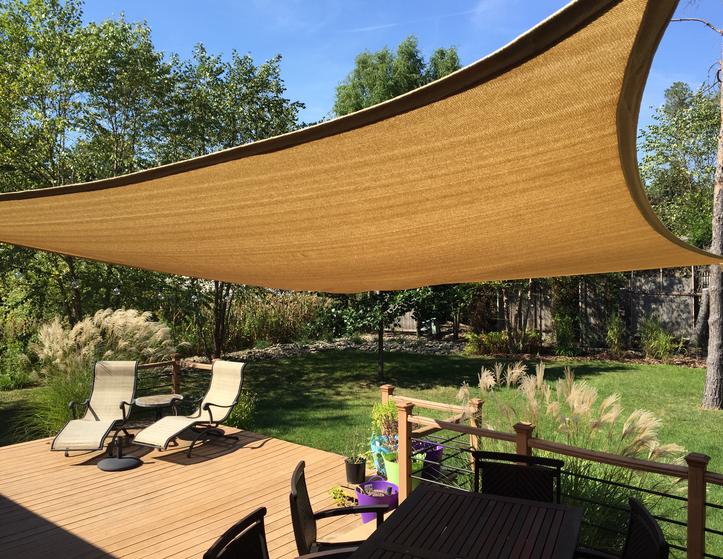
We love to have shade on our back deck, but have gone through more umbrellas than we can count. Whether they disintegrated, fell over in strong wind or were casualties of other outdoor activities, we never kept an umbrella longer than a year. We were traveling in Oregon and saw shade sails used in outdoor spaces, and thought "why not try to install a shade sail at home?" Well, it's easier than you'd think, and quite affordable. At $140 for the materials, it's far cheaper than buying a new umbrella!
Planning a Location for Your Shade Sail
There are a lot of guides online for how to attach your shade sail, and most suggested we strongly anchor the corners using metal posts cemented in the ground. I had something less invasive in mind, so planned to attach two corners to our house, and attach the other two corners to trees in our yard that were in the right locations. I'd use stainless steel uncoated wire rope to provide proper tension across this expanse. Using twine, I "prototyped" how this would look in my backyard. This helped me to know exactly the locations on the trees for the anchors, and also how much material I'd need to buy for the wire rope.
Parts List for Shade Sail
I got all of the materials I needed for this job from Home Depot, including a really nice, heavy-duty shade sail. Add in some decorative lights from Amazon.com, and I would have a really nice outdoor space that would be good in daylight and as dusk approached.
- ShelterLogic ShadeLogic 12 ft. x 12 ft. Square Shade Sail - $63.14
Includes 4 turnbuckles and enough material to anchor all four corners to a short anchor point, but I used wire rope on two corners to go farther. Check out the full selection of shade sails at shelterlogic.com - Everbilt 1/8 in. x 125 ft. Stainless Steel Uncoated Wire Rope - $37.97
- Everbilt 13/16 in. x 4 in. Zinc-Plated Extension Spring (2-Pack) - $3.98
- Lehigh 3/32 in.-1/8 in. Wire Rope Thimble and Clamp Set (4) - $7.92
- 1-5/8 in. Stainless Steel Large Screw Eye Bolt (1) - $0.88
- 25-Foot G40 Globe String Lights (Indoor/Outdoor) - $24.99
Installing the Shade Sail
The shade sail came with hardware for me to be able to make the connections to the house pretty easily, including thimbles for the included nylon rope (which I used for the house connections) and turnbuckles to tighten the rope after installation. Here's how the house connection looks once in place. I used the springs to provide relief during periods of high wind (we've had a few bad storms while this sail was in place, and it handled them with aplomb!)

Corner of the sail
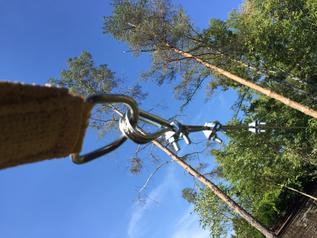
Corner of the sail
From the opposite corners, I assembled the proper length of wire rope (I borrowed some heavy-duty bolt cutters to make the proper cuts) with the thimble and clamp for the end, and attached to eye bolts in the trees with a turnbuckle to tighten the span. Once I had these four anchor points established and installed, the shade sail was in the proper position and I could tighten all four anchor points to get the desired tension.
The Finished Product!
All-told, installation took just a few hours. The result is so nice, instead of constantly having to move an umbrella, the shade provides nice cover for outdoor dining at lunch and dinnertime. My wife and I also think the shelter makes us feel more comfortable while dining outside, as it feels more like an outdoor room.
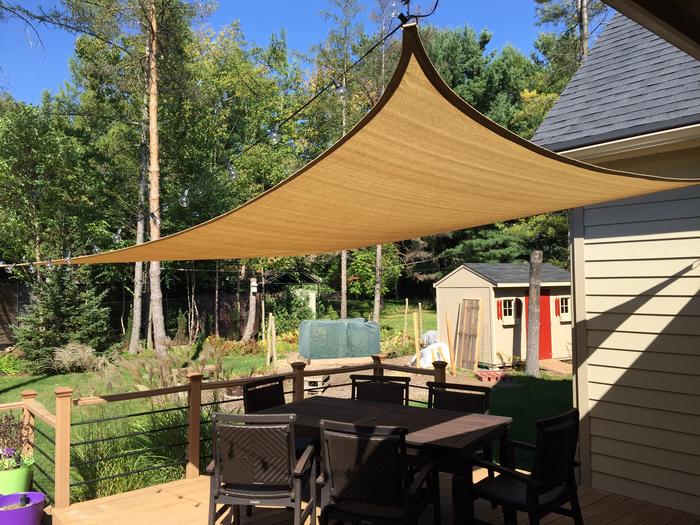
The shade sail, all installed!
Lighting the Shade Sail
We like to entertain outside, and thought some globe string lights would be a nice enhancement. We ran an extension cord up to one of the house anchor points and used the included clips on the lights to attach them to the sail corners, and then along the span leading to one of the trees. This 25-foot string lights up the night quite nicely, providing a nice ambiance for outdoor entertaining.
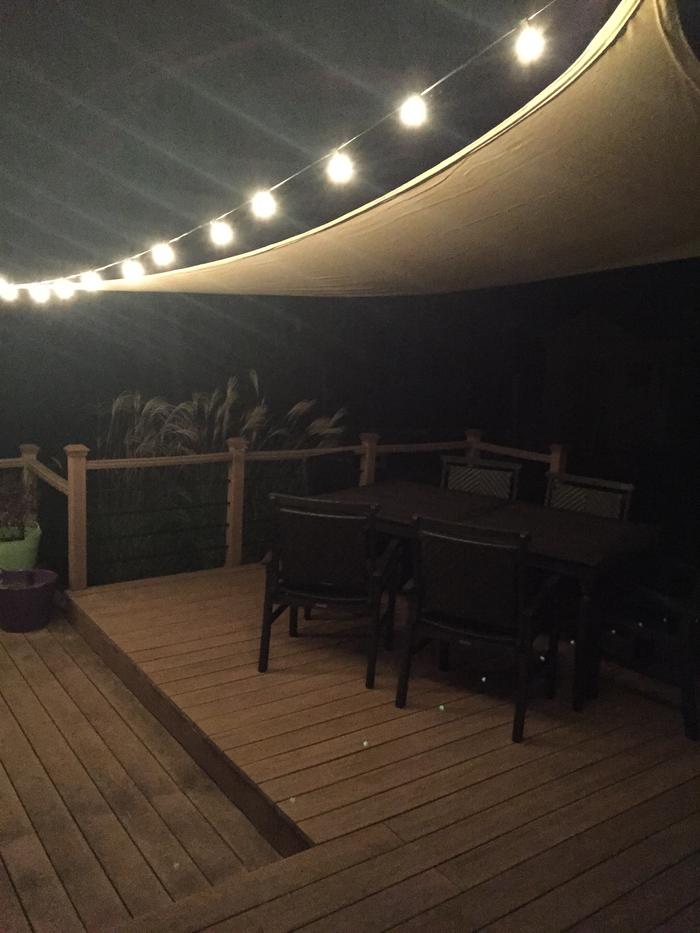
Our shade sail illuminates the deck at night.
2018 May: Update
Well, after a few seasons of shade sail use, I have a lesson to share. Don't use the nylon rope! It just doesn't hold up. Despite not having it outside in the winter, it frayed and snapped this spring. I also had a turnbuckle fail on me, mostly because I think it was too small and the screw threads just plain failed. So ... I've updated the connections to the house to a) remove the spring (there's enough slack in the sail given the distance to the far posts and b) replacing all connections with metal (substantial turnbuckles and S-hooks). With these improvements, the sail is looking better than ever!
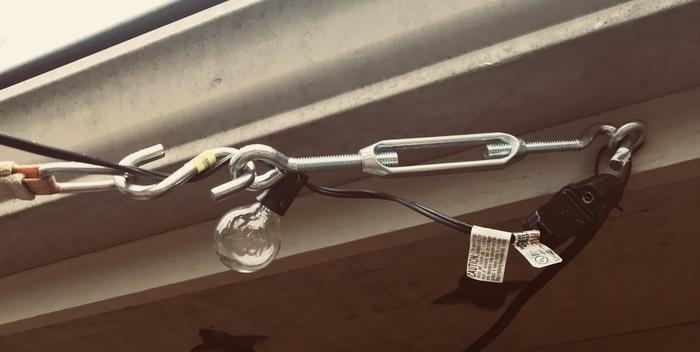
Don't use the nylon rope!


