When I'm looking for creative inspiration, a Lynda.com course by Von Glitschka invariably pops up! Just before Halloween this year, I found the Monster Drawing Workshop, with this description:
Monsters, like our imaginations, follow no rules. They can have eight legs or five eyes, horns or wings. This monster drawing workshop, hosted by illustrator and Lynda.com fan favorite Von Glitschka, is designed to help new artists drop their inhibitions around drawing and let their creativity take over. Von is there every step of the way, breaking down each monster "part" bit by bit, so students can build the monster of their dreams.
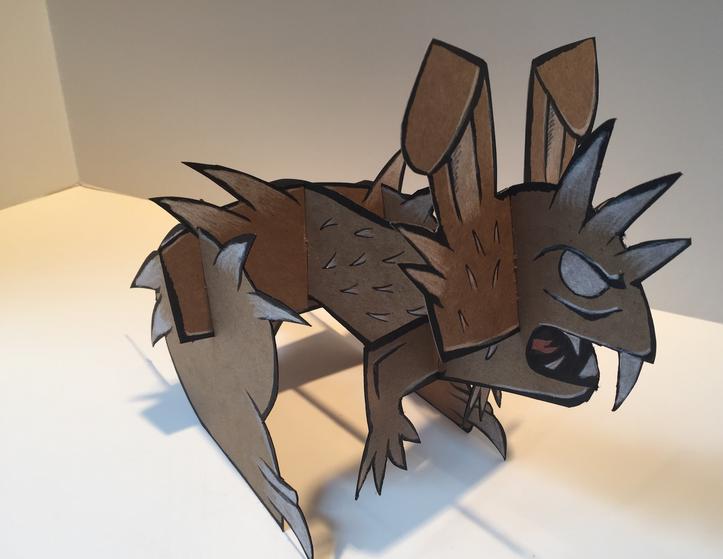
My wife and I have been watching a fair amount of The Walking Dead lately (no spoilers, we're on Season 5!). I also have a live-in Florida White rabbit in my office. So, mash 'em up and you've got yourself a project! So per Von's instructions to name our beast and describe it, I give you Snowball, "turned" Snowpocalpysiball, a zombified Florida White rabbit on the wrong side of a zombie apocalypse that afflicts the cutest of the animal kingdom.
The Process
Von's course provides plenty of step-by-step instructions, and some great examples, too! I watched all of the videos, then started planning out my 'lil zombified friend. I started by sketching the pieces that I'd assemble.
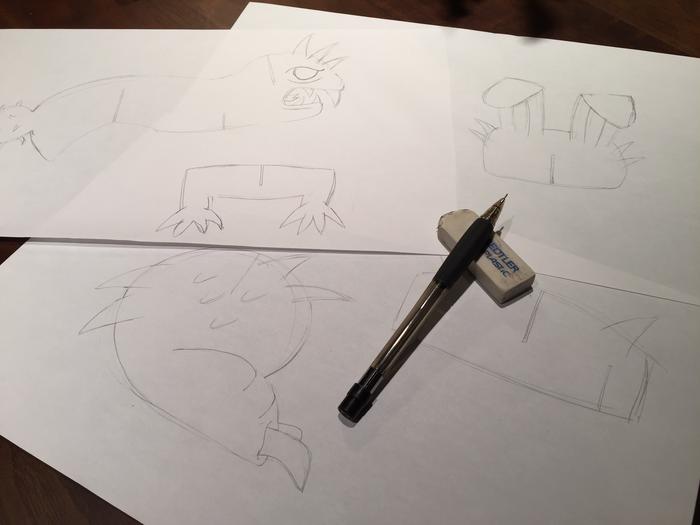
Sketching the pieces
I was a bit unsure of logistically how it'd fit together, so I did a quick paper model before committing to cutting the shapes out of the chipboard.
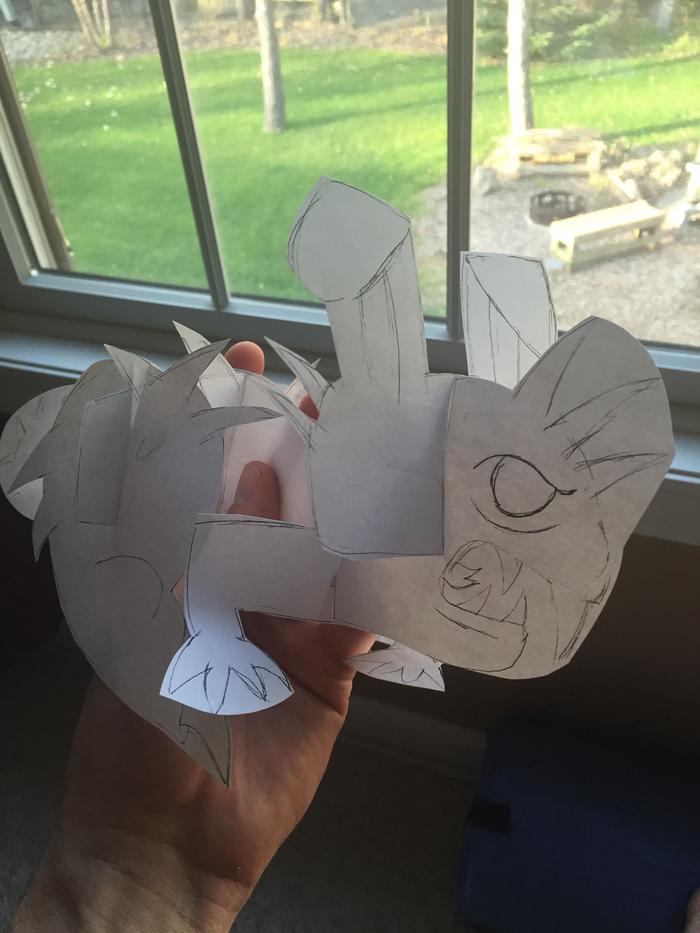
Paper model
With that out of the way, I traced the shapes onto the chipboard and cut them out, using some good scissors and an Exacto knife.
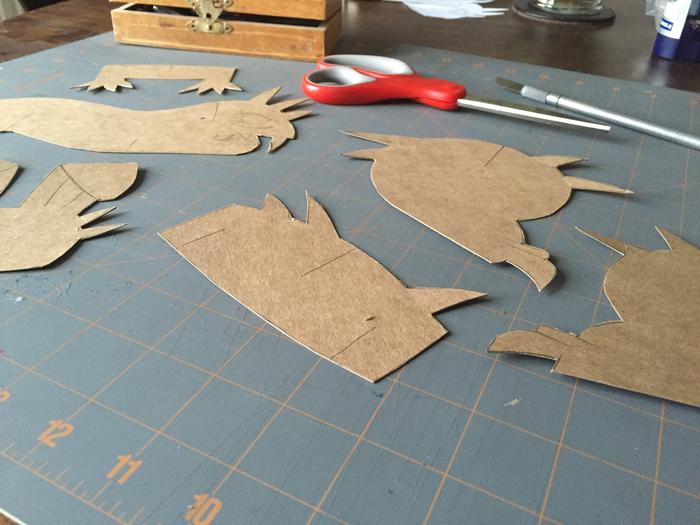
Chipboard cutouts
Then I inked the borders and interior outlines, using a brush pen and a flair pen. Treating the highlights with a white colored pencil gave the piece the final bit of pop. That, and a red tongue.
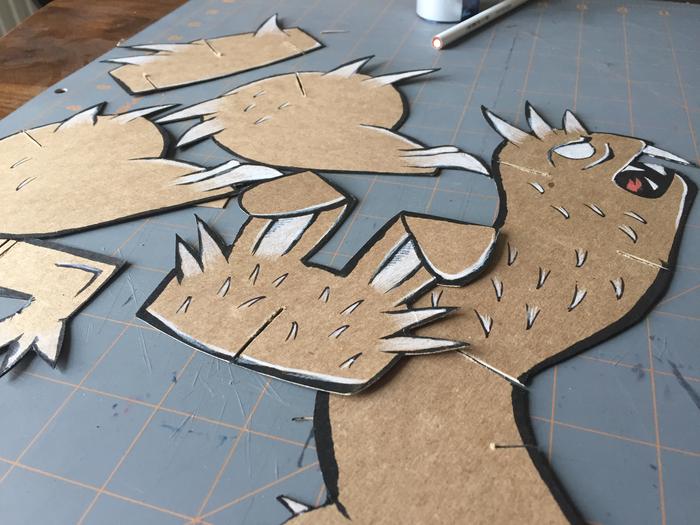
Inking and pencil work
The last step was to assemble it, which I had already done to test fit the slots earlier. I found that the body wavered too much from side-to-side, so I made a late decision to put a "shim" piece just before the tail to help keep the entire center piece roughly centered between the legs. It worked out great!
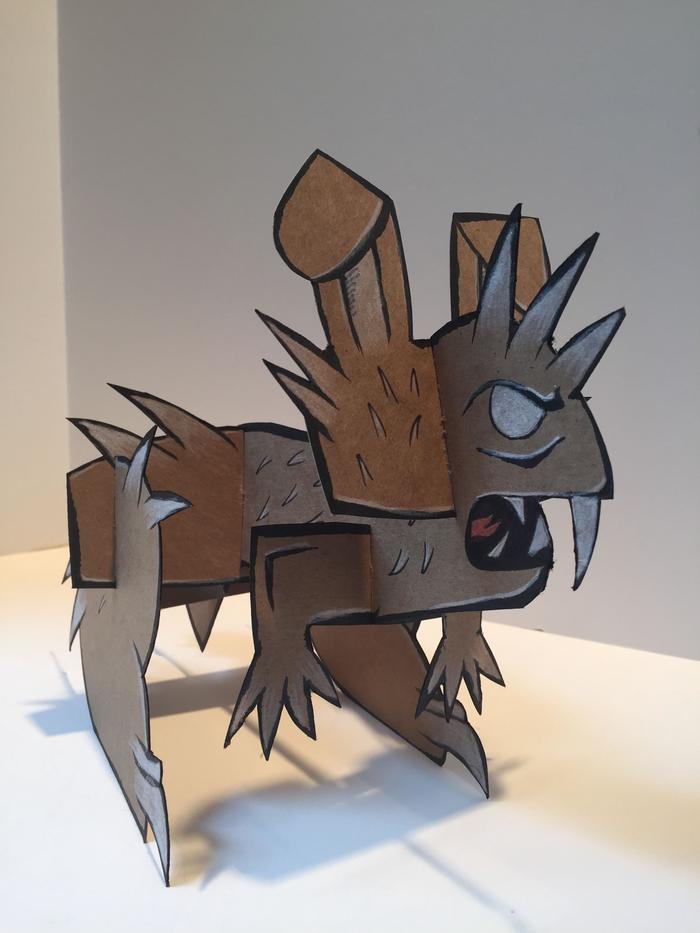
Assembly
Art Supplies
Von's course has a great materials list, and I took this opportunity to do a little shopping for future projects. Here's a list of the things I added to my arsenal.

